 |
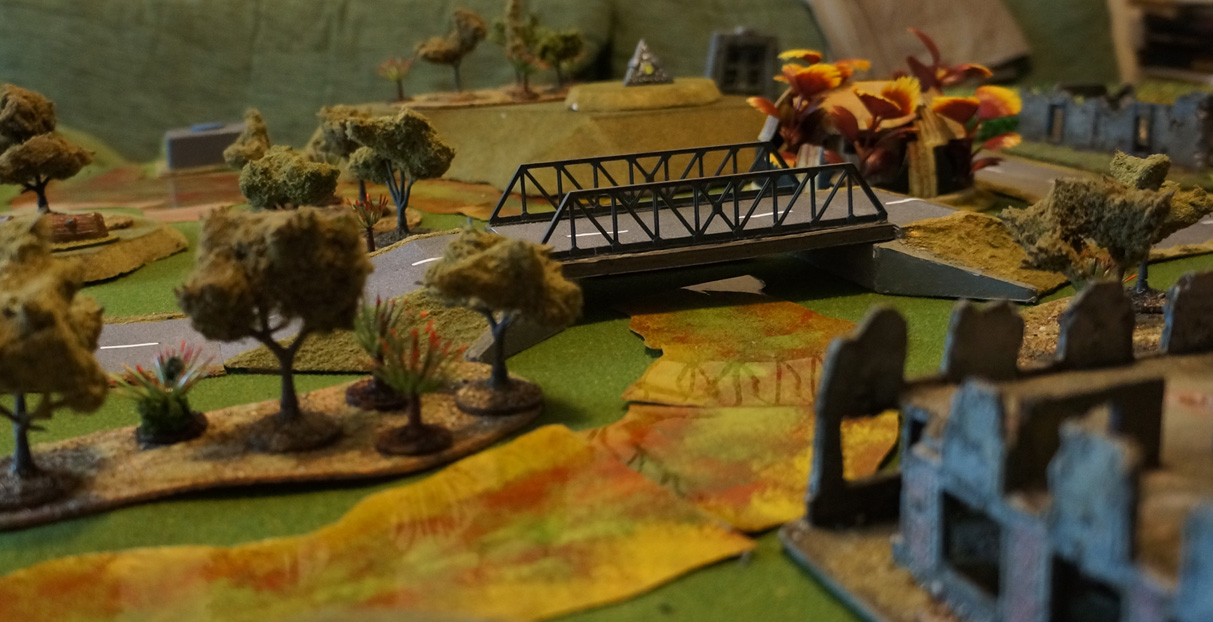
| 2 Harook Grav tanks await the attack, assisted by the miners heavy laser vehicle. A warped photo to try and show what the terrain is meant to portray. |
The background to the attack is that following the Fifth Frontier War a rebellious bunch of asteroid miners (or Belters as they like to be known), take the opportunity to take over a Sword Worlds controlled asteroid habitat for themselves. The Sword World marine force, still reeling from their defeat in the war against the Imperium attempt to retake the asteroid. After securing the docking area they move on to take the main enclosure and the underground tunnel complex.
The marines can only enter from the main gate or from one of nine access ducts scattered about the enclosure. To fight their way through the tunnels they have to roll 1D6 + (the number of attacking teams in the tunnels) - (the number of defending teams in the tunnels). The result is the number of teams that can enter the enclosure from a random location (1d10, 1-9 = the duct rolled for, 10 = lost in the tunnels)
The miners sent the majority of their forces down into the tunnels, leaving the Harook to defend the main enclosure, however the marines ignored the tunnels save for their two teams of specialists and attempted to overwhelm the defenders in a mass charge straight out of the main gate.
Photos of the Battle


The marines withdrew with heavy casualties. They did however manage to destroy the miners heavy laser vehicle as well as destroying the main gun on one of the grav tanks. The DIMOG was eventually destroyed as well as the ATGM turret on the walker robot.
The Rules
The curvature rules took a little getting used to and the Coriolis effect never came into play as the range that the low velocity weapon armed troops engaged in was too close for it to apply.
Once again I (and my opponent) struggled with the Tomorrow's War rules. The fact that a unit can react and react and react (only losing 1 FP for each additional reaction) does seem to make defenders incredibly powerful, add in a couple of units on overwatch who can join in the firefight and it gets very one sided for the initiative side.
The other main gripe with the rules is the difficulty in finding the rules you want, the index is appalling as it lists every mention of the term you want to look up, not highlighting the main section of the rules. The standard way of doing this is to put the page number of the main section in bold so you don't have to wade your way through every mention of the word Overwatch (for example), something that the authors do not seem to be aware of.
I have to say that the scenarios in the rule book are carefully thought out, with the forces and victory conditions nicely balanced to suit the rules. Maybe its my unfamiliarity with the rules that makes it difficult to create a balanced scenario.
The only thing to do is write my own set of rules I reckon, at least then I'll know how they work!
As Supreme Commander Marine Forces (or bloke who cowers in a small building while his troops get mown down like so much wheat) I decided that I needed to achieve local superiority in order to affect a victory. It was Forlorn Hope time, with my brave forces charging into the teeth (beaks) of the rebel defenders. Unfortunately, due to the size of the defending forces, the shape of the battlefield and the effects of the Tomorrows War rules meant I was doomed to failure, despite some decent die rolling. Still it was a good laugh and no one got killed for real... what do you mean, "Have I read Ender's Game?"
ReplyDelete"Remember, the enemy's gate is down!"
DeleteNice AAR and great terrain.
ReplyDeleteThe ability to keep reacting is only a problem with larger squads/fireteams - if you keep them at 4-5 they soon run out of FP dice. Another point - Overwatch only applies to the "Initiative Player" and can be quickly lost by low TQ troops as there is more chance of them failing the reaction test.
Great report. Fantastic table and wonderful pictures.
ReplyDeleteGreat report and a wonderful looking table. I've been re-watching the original Gundam tv series (1970's era) and your asteroid layout reminds me a lot of the tubular space colonies from that show.
ReplyDeleteA very interesting scenario, I never really thought about the implications of space habitat warfare, I guess the reverse curvature thing is the most obvious. At sufficient range, ground units are in each other's "sky"! As for the Coriolis effect, unless targeting computers were specifically configured for this scenario (and they could be, in a sci-fi scenario), it would be a real problem... units might just have to "walk" their shots in.
ReplyDeleteI'm really glad I stumbled upon your blog- fabulous figures and terrain, great batrep, and lots of interesting goodness! This is a blog I shall keep returning to. I like the idea of the fast setting 'No More Nails' technique for the jump troopers, and presumably the dropship/lander? Great stuff!
ReplyDeleteCredit for the No More Nails idea has to go to my mate Euan's marines over on http://adeptusiratus.blogspot.co.uk/2012/01/angry-is-as-angry-does.html.
DeleteGlad you like the blog, have to try to be a bit more prolific with my postings!